I'll stat with this photo of me and Jean-Luc. I'm wearing a t-shirt over a swimsuit and the background (my office) is a bit messy, but it's a great picture! Here's how I'm going to save it.
First, open the photo you want to add your brick wall background to. It might be a good idea to resize it so it is less than 2000 by 2000, so that the bricks look bigger.

Now duplicate the layer. A lot of times I suggest working on the bottom layer. This time we're going to work on the top layer. First, I had a Gaussian blur to the top layer. The blurrier, the better. You could also use the smudge brush and just smudge all around the photo's subject.

Next you're going to choose Filters > Texturize Bump > Surface > Bricks 1
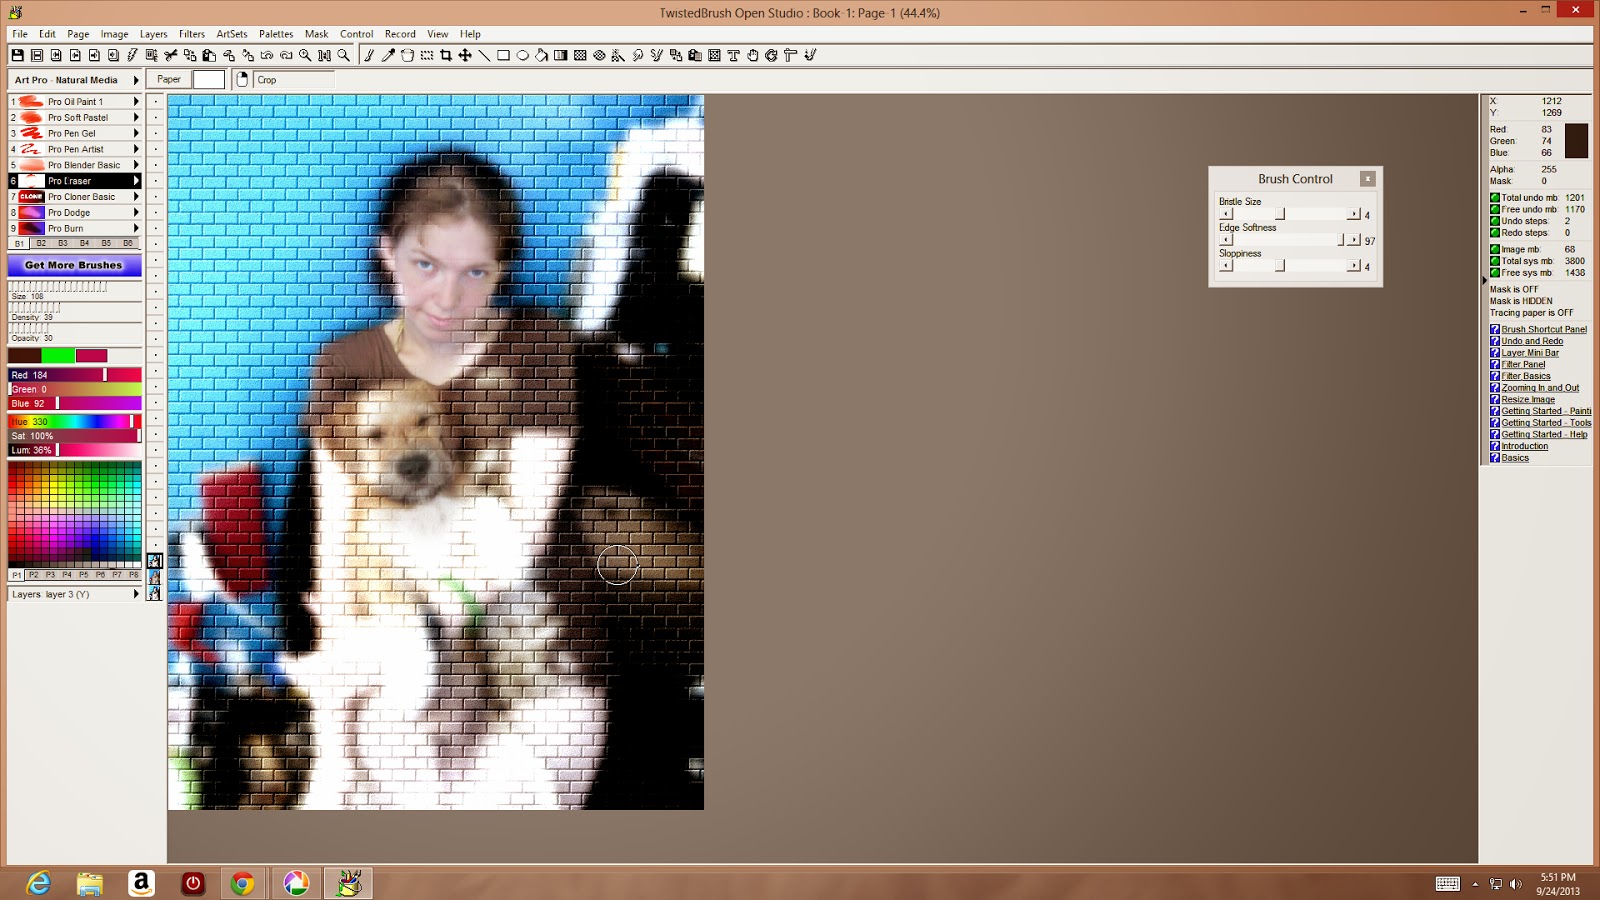
Using your eraser tool, start eliminating the bricks over the subject of the photo.

I decided last minute that I wanted to make my subjects radiant. To do this, I chose Filters > Photo > Radiant 2 and applied it to the bottom layer.

Now save your project.

You can crop it in TwistedBrush I crop it in Picasa. I chose to crop mine in Picasa so I could make it an 8x10.
No comments:
Post a Comment