Monday, September 30, 2013

How To Put Your Photo Into A Vignette In Artweaver

While there is a way to give your photo a vignette in Picasa, I don't highly recommend it. It's just not the same.

Today, we're going to give one of your photos a portrait-worthy vignette. Just follow along.

First, I open my photo in Artweaver and add a new layer. Then I duplicate my background layer and drag it above the "new layer". I'm going to use my paint tool to fill in the new layer as white.


Now I go to my selection tool. I change the Shape to an Ellipse. I set the Feather to 50.

Now I select the entire photo.


Then I right-click and click Inverse. I now have all of the outside area of the photo selected. This is going to become the white area.

I hit delete.


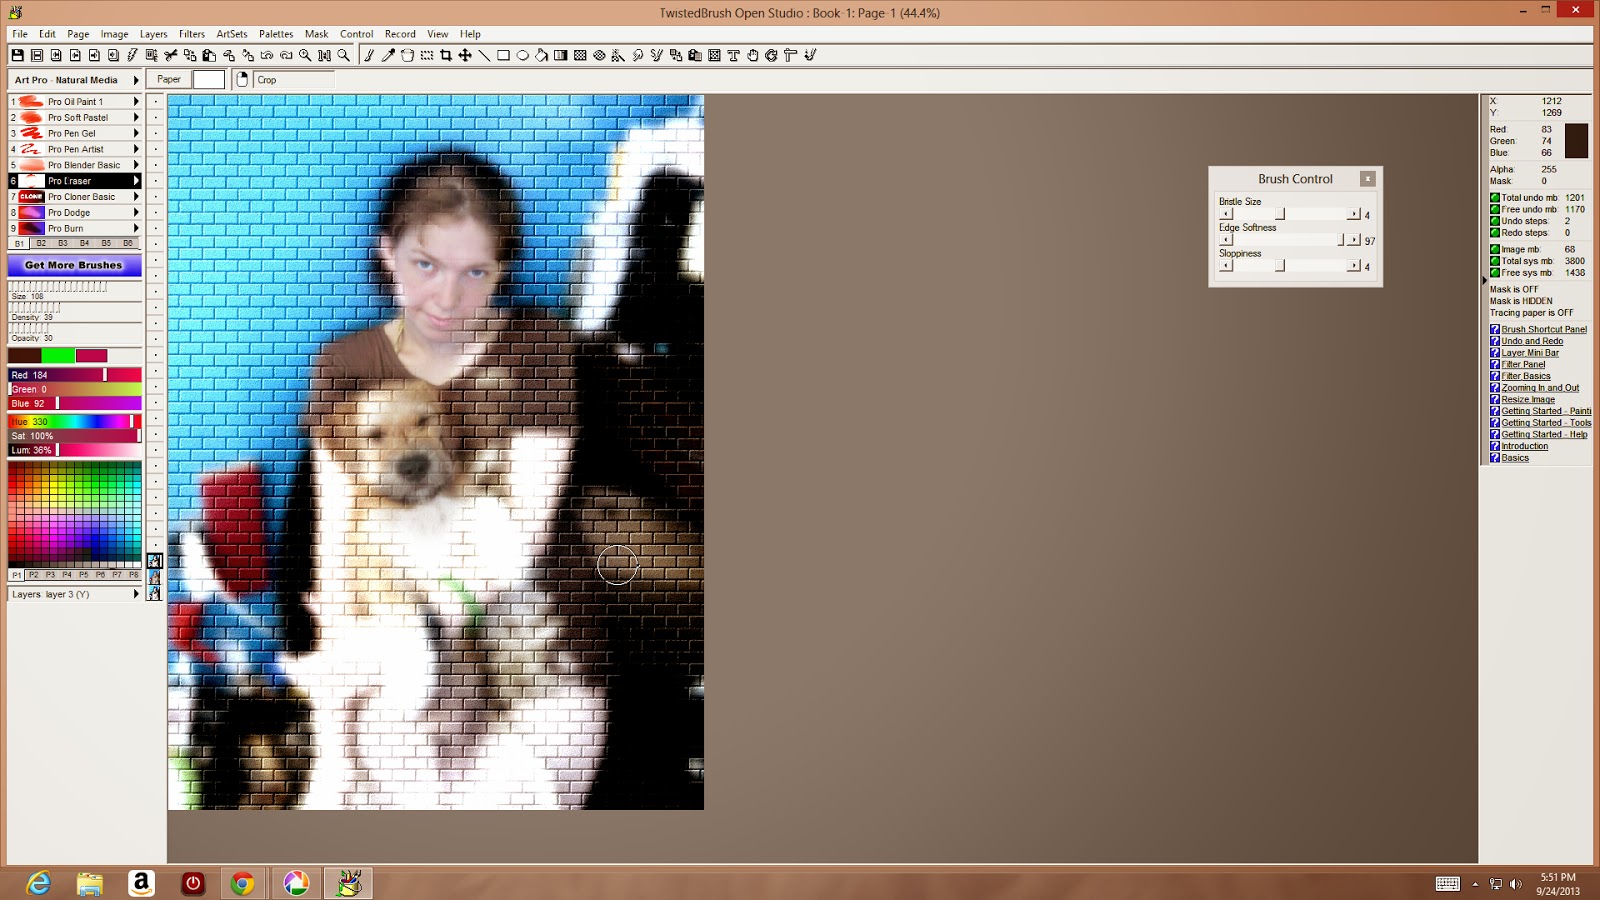
Now I have a lovely photo in a portrait-style vignette. All I have to do now is save it!


Sunday, September 29, 2013

Make A Photo Look Vintage In Picasa

This is a really easy one. In fact, a lot of photo editors allow you to make a photo look "vintage" at the push of a button. But today I want to teach you to it with a bit more realism. First select a photo with no obvious "modern day stuff" in the background. Anything from cars to windows that look modern should NOT be in the photo. Your cellphone or watch? Taken them and set them to the side.

For my photo I wore a vintage style dress. I chose a solid wall as my background and bed/blankets as my setting. You won't really be able to tell the blankets are modern once I'm done.

I started by going to "Tuning" in Picasa. I set the Shadows Level to halfway.


Once I've done this, I convert the photo to Sepia.


Now add film grain at the max level.


Ta-da! What a nice vintage-style photo you have!

Wednesday, September 25, 2013

Make a Brick Wall Your Background In TwistedBrush Studio

 Today we're going to deal a messy background by turning it into a brick wall. This is really easy to do in TwistedBrush Studio. This art program has many features, but this is definitely one of my favourite.

I'll stat with this photo of me and Jean-Luc. I'm wearing a t-shirt over a swimsuit and the background (my office) is a bit messy, but it's a great picture! Here's how I'm going to save it. 

First, open the photo you want to add your brick wall background to. It might be a good idea to resize it so it is less than 2000 by 2000, so that the bricks look bigger.
Now duplicate the layer. A lot of times I suggest working on the bottom layer. This time we're going to work on the top layer. First, I had a Gaussian blur to the top layer. The blurrier, the better. You could also use the smudge brush and just smudge all around the photo's subject.


Next you're going to choose Filters > Texturize Bump > Surface > Bricks 1


Using your eraser tool, start eliminating the bricks over the subject of the photo.


I decided last minute that I wanted to make my subjects radiant. To do this, I chose Filters > Photo > Radiant 2 and applied it to the bottom layer.


Now save your project.


You can crop it in TwistedBrush I crop it in Picasa. I chose to crop mine in Picasa so I could make it an 8x10.

Tuesday, September 24, 2013

How to make a neat "Golden" effect in Picasa

Today, we're going to make what I like to call a "Golden" effect. I'm going to use a picture of my mom's dog Peanut with his head in the grass for this tutorial.
First, open Google Picasa and select the image you want to try this effect on.
Next open your green effects bucket.

Now click on Cinemascope and uncheck Letterbox

Once you've applied this effect, click on Cross Process.

And that's all you have to do! You should have a nice golden photo.