Friday, July 26, 2013

How To Give A Photo A Painting Like Quality In Picasa

Today, I'm going to talk about posterizing a photo.

But we're not just going to posterize our photo. We're going to give it a painted quality.


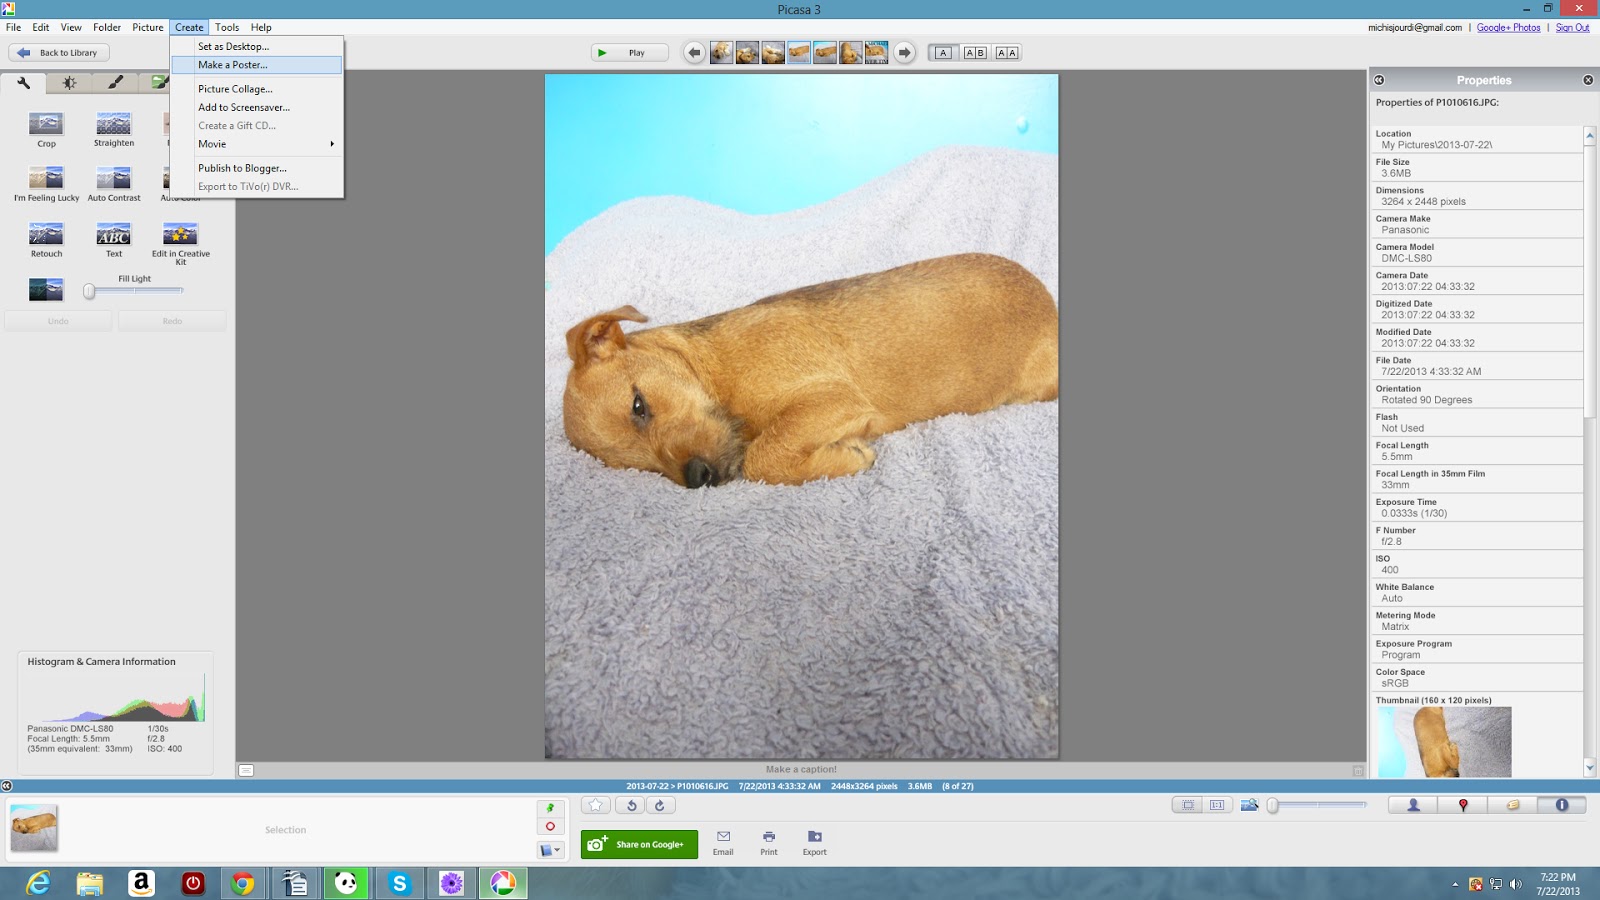
First I select a photo I want to make into a posterized painting. Now I'm going to open my "green sticker" effects as shown the photo above.


I click on the effect called Posterize.


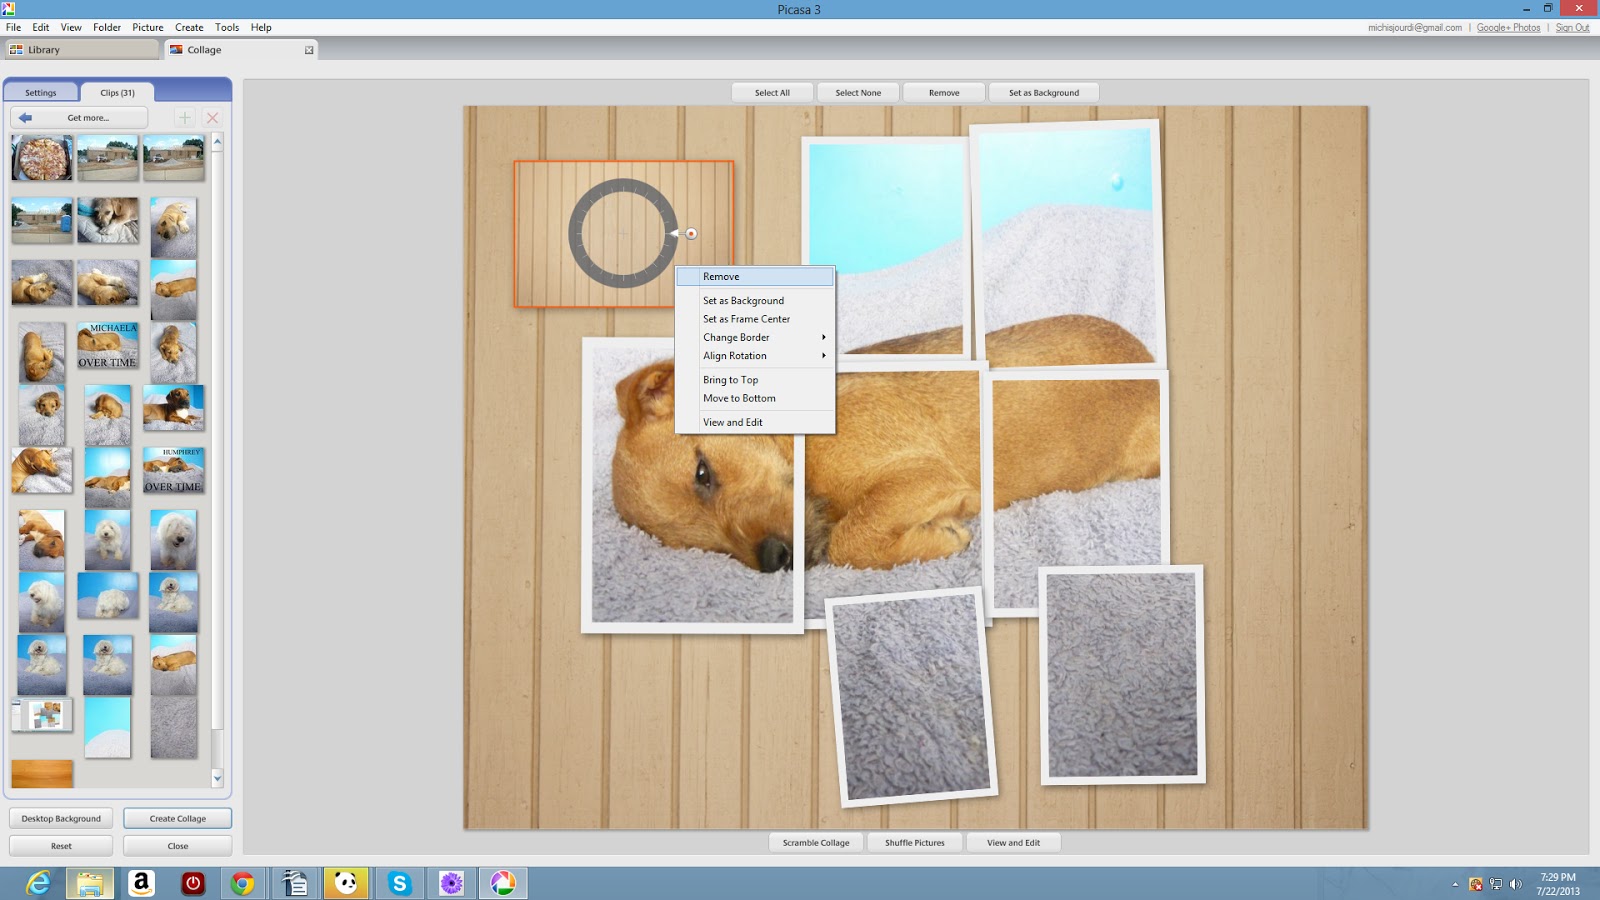
This gives a sort of abstract style of poster. That's not really what I'm going for.


So I'll mess with the settings, sliding the Detail bar all the way to the right, and sliding the Number Of Colours bar all the way to the right as well.


Now I have a soft poster painting.


Thursday, July 25, 2013

How To Make A Photo Into A Colouring Page in Picasa

This one is relatively simple, but there are still a lot of people who don't know how to do it, so it's worth doing a tutorial on. What I'm going for is the best possible effect for creating a colouring page.


As usual we'll start by selecting a photo that we really like.


Now I'm going to click on the little "sun" and raise the highlight of my photo.


Now I'll click on the blue effects page and choose "pencil sketch".


Now my photo looks like this. But I want my colours to show up really well on the paper, so I'm going to make the gray areas lighter.


I click on the Strength bar and drag it until I have a very light version of my colouring page.

Now I can print it and colour an amazing picture!

Wednesday, July 24, 2013

How To Make A One Photo Collage In Picasa

Do you ever see those pictures where a pile of photos connect together to make one large photo? Those are pretty cool, n'est pas? Today, that's what we're going to make.


First, I open my Picasa program and select a photo I really like. I chose a photo of my sweet baby Michaela.


I select Create > Make a poster


Now I choose the percentage. This increases the photo size so that you can print it for a poster, but that's not what we're going to do today. I choose 300% for this project. This will cut my photo into nine pieces.


Picasa generates the pieces of my "poster". 


Once Picasa is done, I highlight the pieces and select Create > Picture Collage...

I choose an 8x10 format to make sure it looks good when printed.


I go to Settings and select Picture Pile so that I can move the pictures around.


Now I select my style. For this project I use the photographs with the small white border. I highlight all the pieces so that I can convert them all at once.


Now I'm going to bring the piece with Michaela's face to the top. Her face is the most important part of the picture. I don't want to hide it.


Now I highlight and remove extra pieces that don't want. 


I drag a texture picture from  public-domain-photos.com on to the board and select it for the background.


Once I've done this I can remove the tile.


Now I have a lovely and unique picture suitable for framing and hanging.


Tuesday, July 23, 2013

How To Blur The Background Of A Photo

Welcome, class. Today I'm going to teach you how to blur the background of your photograph. This makes the subject of the photo more noticeable and reduces distractions.

I'm going to use Artweaver, but you should be able to transfer the knowledge to most popular photo editing software.

Just like in the last tutorial, we're going to start off by duplicating the photo.


Click on the BOTTOM photo. Make sure you're on the bottom. Now select Filter > Blur > Gaussian Blur.


Slide the bar all the way to the right. Now we're going back to the top image. Click on it.


You can use the lasso tool to select as much area on the top layer as possible. Then press you delete key to clear the selection.


Once you've cleared the majority of the background, switch to the eraser tool. Erase gently around the edges.


When you're finished you're photo should have an effect similar to this. Save as...and choose a name for your new masterpiece.


Monday, July 22, 2013

How To Make Your Photo Partially Black And White

Making your photo in black and white with one or a few objects in colour is easier than you might think. I'm going to do it in Artweaver. It would probably be relatively simple to transfer these basic steps to other photo editing programs.


 First, you'll want to open your picture. Click on file > Open... > Then select the picture you want for this project.


Next you'll want to duplicate the photo so that you have the same photo on two separate layers.


Click on the bottom image to make sure that it is the image you are manipulating. Go to Adjustments > Brightness/Contrast and slide the contrast bar all the way to the right. This will make your colour look brighter.


Now we're going to click on the top image.


Click adjustments > Grayscale...


Move the red to the right for a brighter black and white picture. Now we're finished editing the colours.


Taking your eraser tool, erase the "object" until the colour shows through completely.


And you're done!

Introduction Post

Hi, I'm Teddy. 

I love doing photo editing. 

While I don't have photoshop, I have found plenty of resources to edit my photos. 

Here I am going to share with you some of the easy and fun tricks I do to make my photos look really cool.

I use a combination of the following programs.

Artweaver - A simple photo editing program that once learned offers a large variety of tools for photo manipulation.

TwistedBrush Studio - This program is often used for painting, but also has a lot of great features for special effects.

Google Picasa - This is often thought of as being for novices, but it can do a lot more than you might think.

Sometimes I use other programs. Any time I do a post I'll mention the program I'm using.