Do you ever see those pictures where a pile of photos connect together to make one large photo? Those are pretty cool, n'est pas? Today, that's what we're going to make.


First, I open my Picasa program and select a photo I really like. I chose a photo of my sweet baby Michaela.
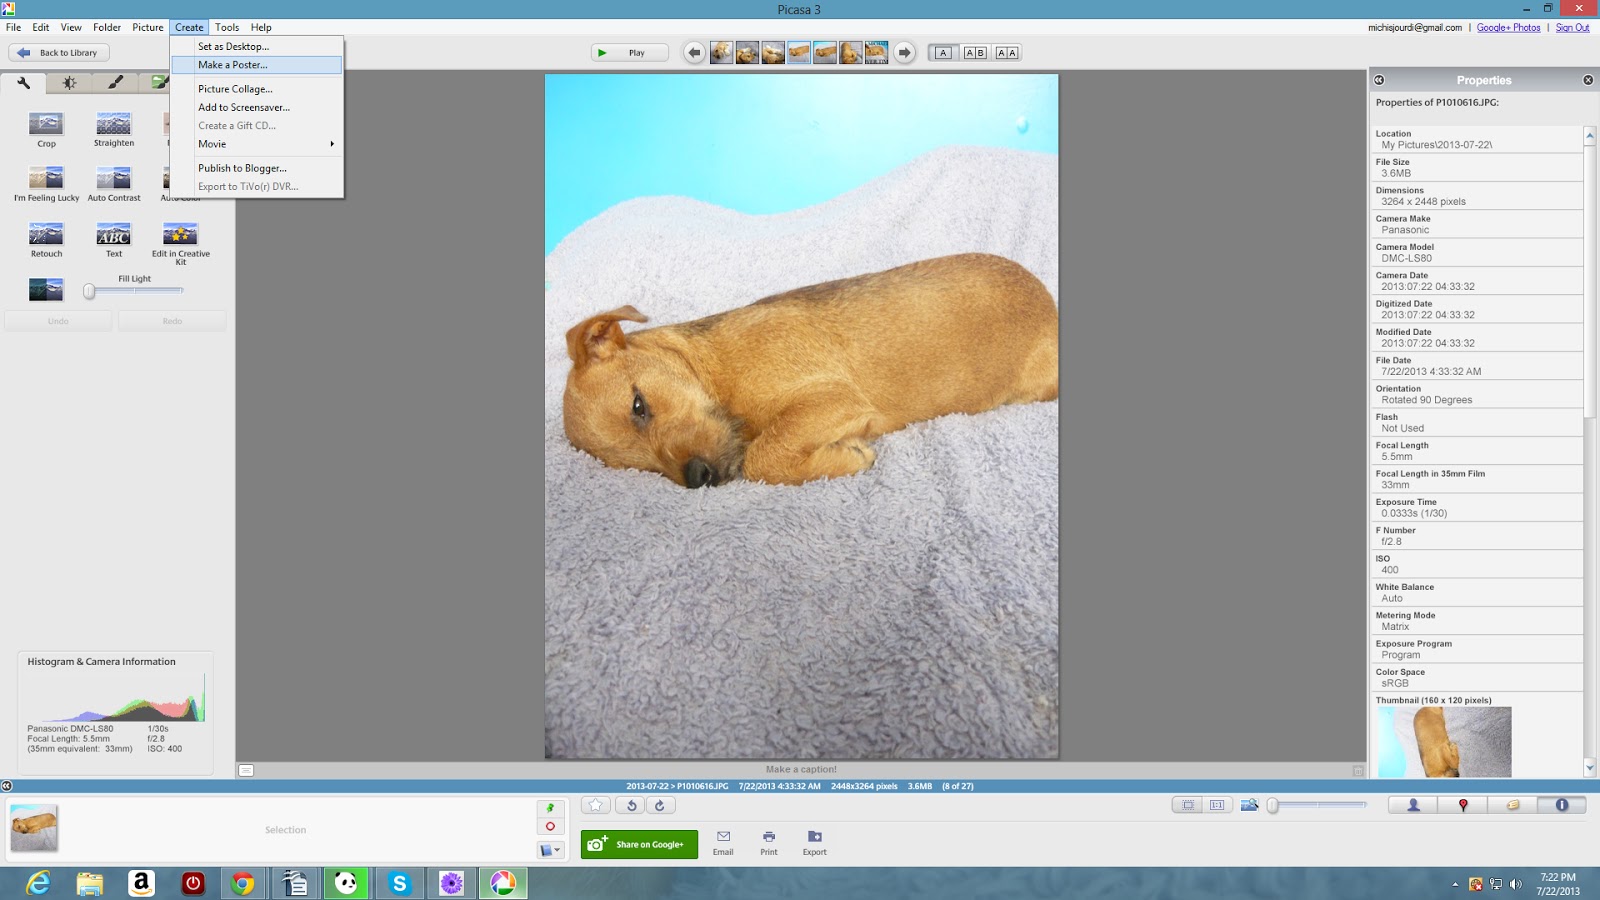
I select Create > Make a poster

Now I choose the percentage. This increases the photo size so that you can print it for a poster, but that's not what we're going to do today. I choose 300% for this project. This will cut my photo into nine pieces.

Picasa generates the pieces of my "poster".
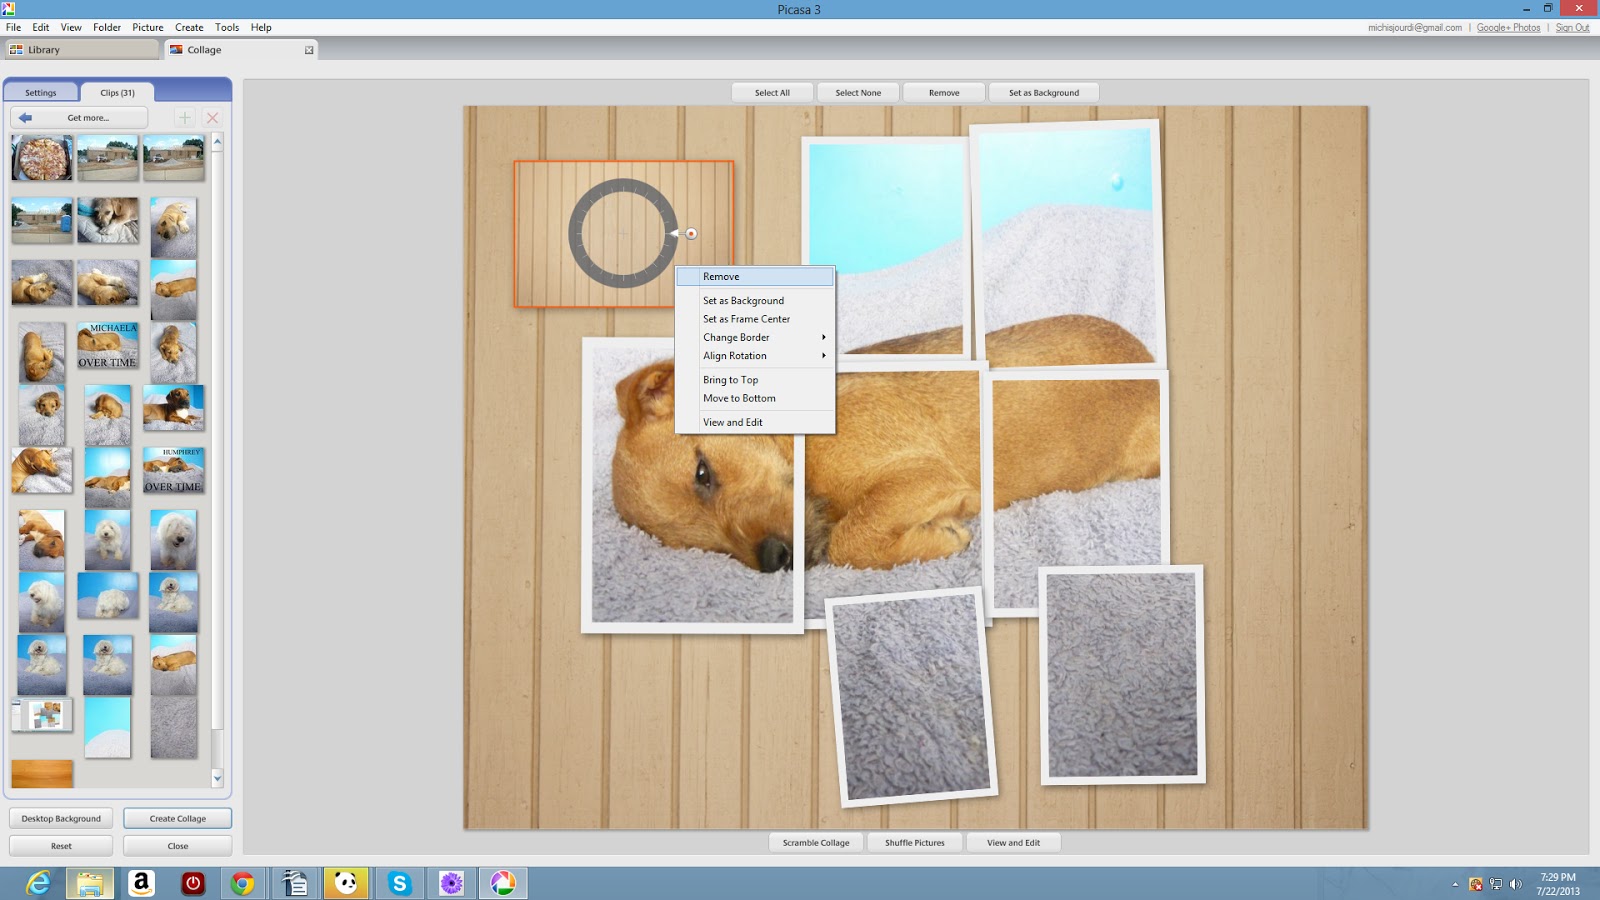
Once Picasa is done, I highlight the pieces and select Create > Picture Collage...
I choose an 8x10 format to make sure it looks good when printed.

I go to Settings and select Picture Pile so that I can move the pictures around.

Now I select my style. For this project I use the photographs with the small white border. I highlight all the pieces so that I can convert them all at once.

Now I'm going to bring the piece with Michaela's face to the top. Her face is the most important part of the picture. I don't want to hide it.

Now I highlight and remove extra pieces that don't want.

I drag a texture picture from public-domain-photos.com on to the board and select it for the background.
Once I've done this I can remove the tile.

Now I have a lovely and unique picture suitable for framing and hanging.
No comments:
Post a Comment