Monday, September 30, 2013

How To Put Your Photo Into A Vignette In Artweaver

While there is a way to give your photo a vignette in Picasa, I don't highly recommend it. It's just not the same.

Today, we're going to give one of your photos a portrait-worthy vignette. Just follow along.

First, I open my photo in Artweaver and add a new layer. Then I duplicate my background layer and drag it above the "new layer". I'm going to use my paint tool to fill in the new layer as white.


Now I go to my selection tool. I change the Shape to an Ellipse. I set the Feather to 50.

Now I select the entire photo.


Then I right-click and click Inverse. I now have all of the outside area of the photo selected. This is going to become the white area.

I hit delete.


Now I have a lovely photo in a portrait-style vignette. All I have to do now is save it!


Sunday, September 29, 2013

Make A Photo Look Vintage In Picasa

This is a really easy one. In fact, a lot of photo editors allow you to make a photo look "vintage" at the push of a button. But today I want to teach you to it with a bit more realism. First select a photo with no obvious "modern day stuff" in the background. Anything from cars to windows that look modern should NOT be in the photo. Your cellphone or watch? Taken them and set them to the side.

For my photo I wore a vintage style dress. I chose a solid wall as my background and bed/blankets as my setting. You won't really be able to tell the blankets are modern once I'm done.

I started by going to "Tuning" in Picasa. I set the Shadows Level to halfway.


Once I've done this, I convert the photo to Sepia.


Now add film grain at the max level.


Ta-da! What a nice vintage-style photo you have!

Wednesday, September 25, 2013

Make a Brick Wall Your Background In TwistedBrush Studio

 Today we're going to deal a messy background by turning it into a brick wall. This is really easy to do in TwistedBrush Studio. This art program has many features, but this is definitely one of my favourite.

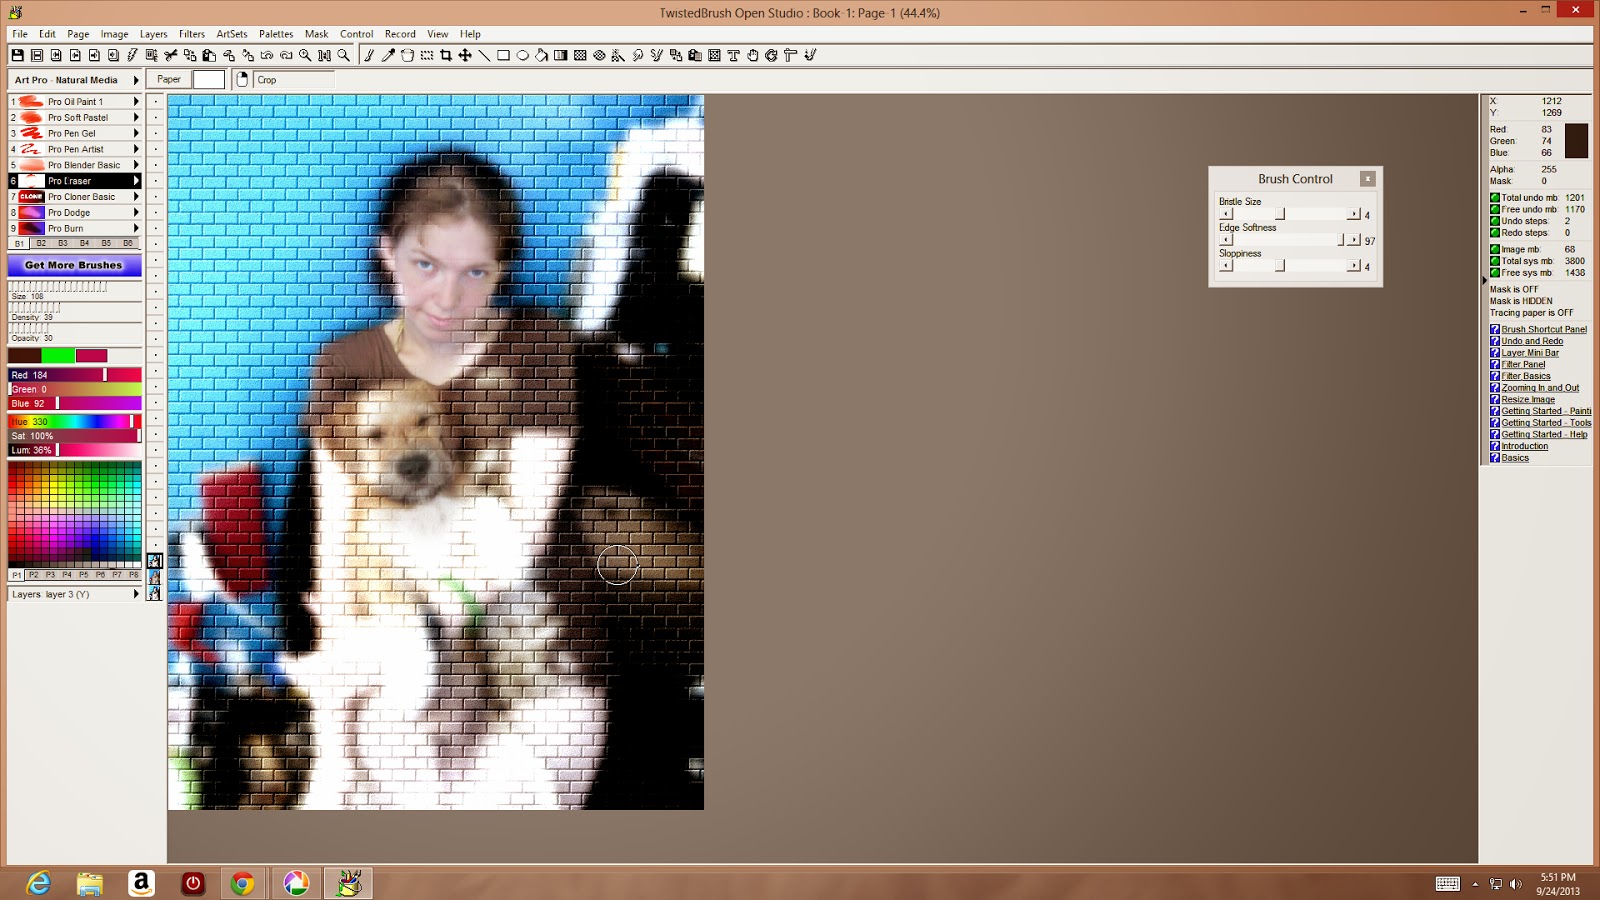
I'll stat with this photo of me and Jean-Luc. I'm wearing a t-shirt over a swimsuit and the background (my office) is a bit messy, but it's a great picture! Here's how I'm going to save it. 

First, open the photo you want to add your brick wall background to. It might be a good idea to resize it so it is less than 2000 by 2000, so that the bricks look bigger.
Now duplicate the layer. A lot of times I suggest working on the bottom layer. This time we're going to work on the top layer. First, I had a Gaussian blur to the top layer. The blurrier, the better. You could also use the smudge brush and just smudge all around the photo's subject.


Next you're going to choose Filters > Texturize Bump > Surface > Bricks 1


Using your eraser tool, start eliminating the bricks over the subject of the photo.


I decided last minute that I wanted to make my subjects radiant. To do this, I chose Filters > Photo > Radiant 2 and applied it to the bottom layer.


Now save your project.


You can crop it in TwistedBrush I crop it in Picasa. I chose to crop mine in Picasa so I could make it an 8x10.

Tuesday, September 24, 2013

How to make a neat "Golden" effect in Picasa

Today, we're going to make what I like to call a "Golden" effect. I'm going to use a picture of my mom's dog Peanut with his head in the grass for this tutorial.
First, open Google Picasa and select the image you want to try this effect on.
Next open your green effects bucket.

Now click on Cinemascope and uncheck Letterbox

Once you've applied this effect, click on Cross Process.

And that's all you have to do! You should have a nice golden photo.


Friday, July 26, 2013

How To Give A Photo A Painting Like Quality In Picasa

Today, I'm going to talk about posterizing a photo.

But we're not just going to posterize our photo. We're going to give it a painted quality.


First I select a photo I want to make into a posterized painting. Now I'm going to open my "green sticker" effects as shown the photo above.


I click on the effect called Posterize.


This gives a sort of abstract style of poster. That's not really what I'm going for.


So I'll mess with the settings, sliding the Detail bar all the way to the right, and sliding the Number Of Colours bar all the way to the right as well.


Now I have a soft poster painting.


Thursday, July 25, 2013

How To Make A Photo Into A Colouring Page in Picasa

This one is relatively simple, but there are still a lot of people who don't know how to do it, so it's worth doing a tutorial on. What I'm going for is the best possible effect for creating a colouring page.


As usual we'll start by selecting a photo that we really like.


Now I'm going to click on the little "sun" and raise the highlight of my photo.


Now I'll click on the blue effects page and choose "pencil sketch".


Now my photo looks like this. But I want my colours to show up really well on the paper, so I'm going to make the gray areas lighter.


I click on the Strength bar and drag it until I have a very light version of my colouring page.

Now I can print it and colour an amazing picture!

Wednesday, July 24, 2013

How To Make A One Photo Collage In Picasa

Do you ever see those pictures where a pile of photos connect together to make one large photo? Those are pretty cool, n'est pas? Today, that's what we're going to make.


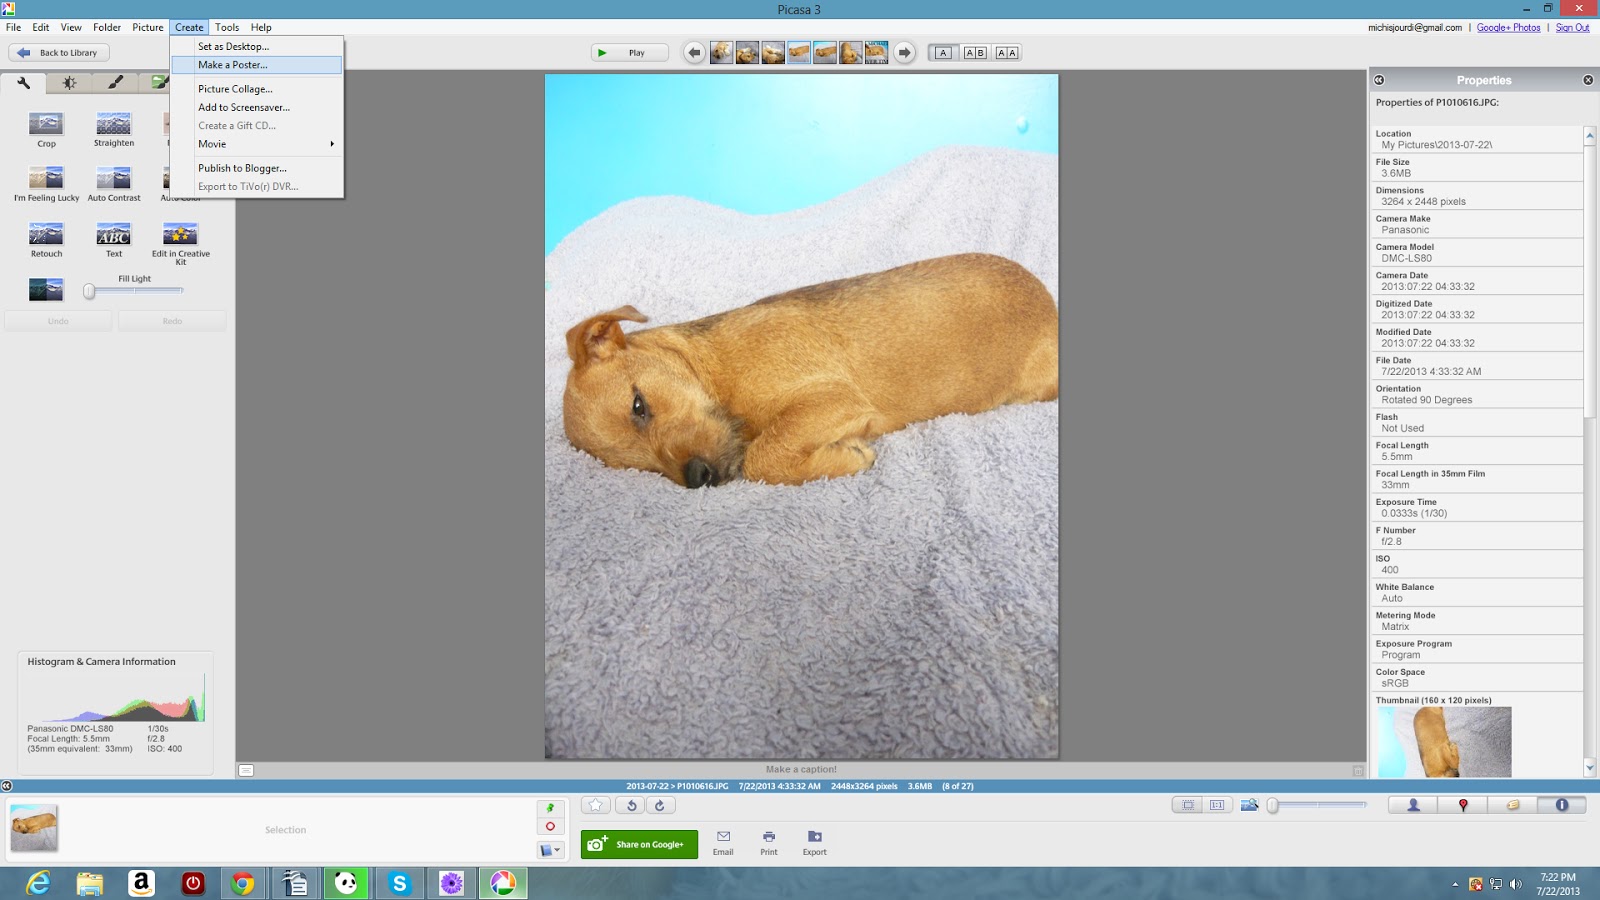
First, I open my Picasa program and select a photo I really like. I chose a photo of my sweet baby Michaela.


I select Create > Make a poster


Now I choose the percentage. This increases the photo size so that you can print it for a poster, but that's not what we're going to do today. I choose 300% for this project. This will cut my photo into nine pieces.


Picasa generates the pieces of my "poster". 


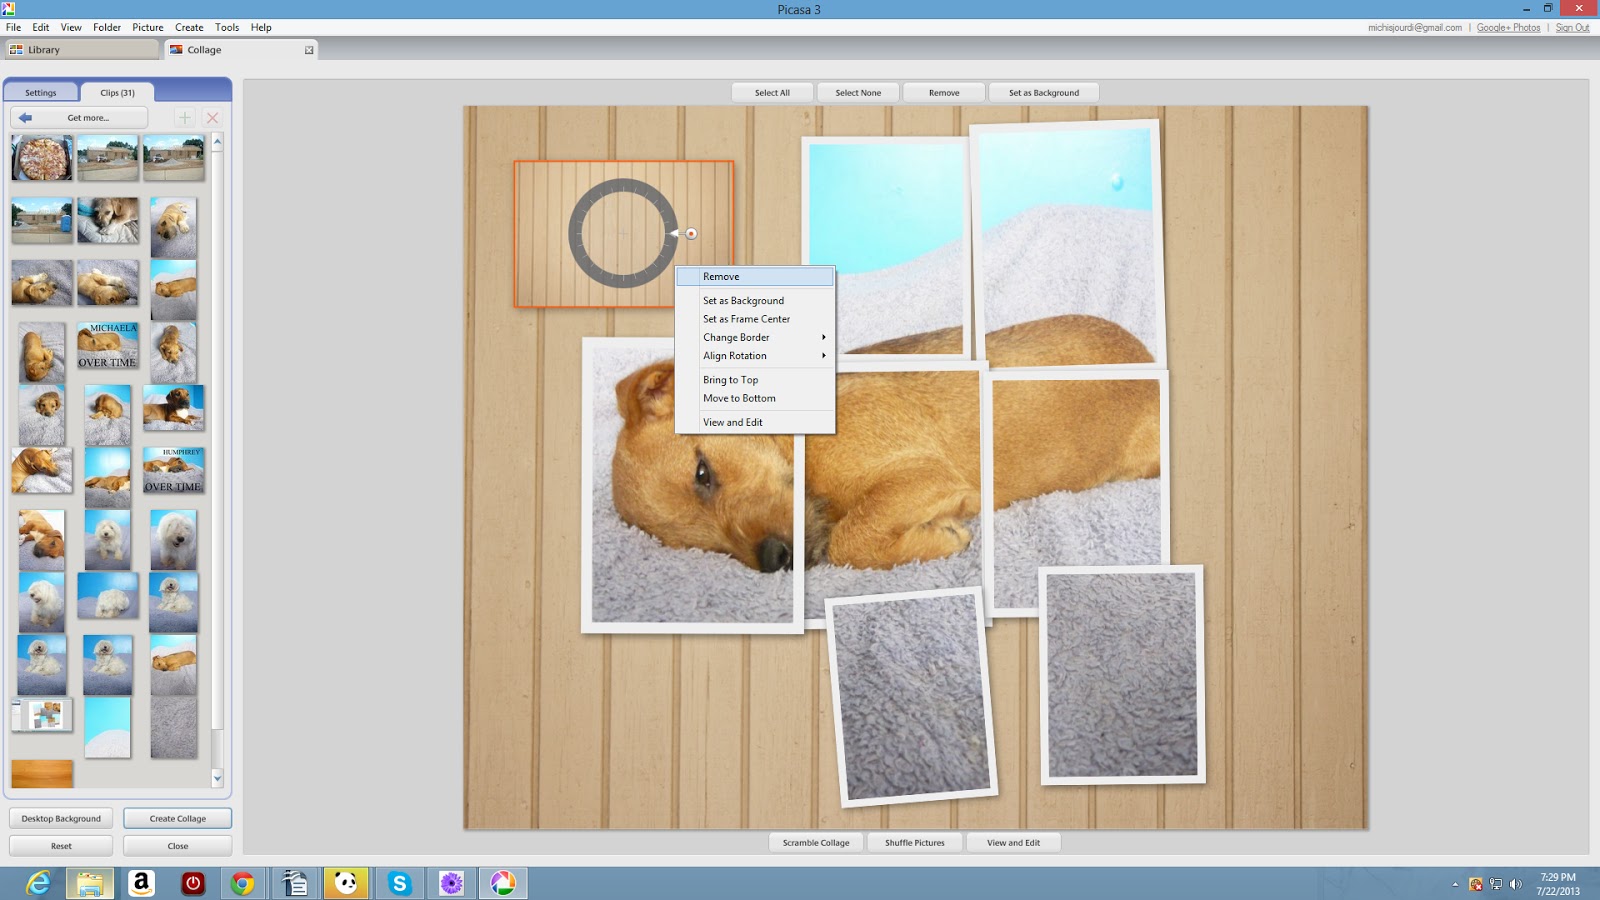
Once Picasa is done, I highlight the pieces and select Create > Picture Collage...

I choose an 8x10 format to make sure it looks good when printed.


I go to Settings and select Picture Pile so that I can move the pictures around.


Now I select my style. For this project I use the photographs with the small white border. I highlight all the pieces so that I can convert them all at once.


Now I'm going to bring the piece with Michaela's face to the top. Her face is the most important part of the picture. I don't want to hide it.


Now I highlight and remove extra pieces that don't want. 


I drag a texture picture from  public-domain-photos.com on to the board and select it for the background.


Once I've done this I can remove the tile.


Now I have a lovely and unique picture suitable for framing and hanging.